Get Started with Tape Label Studio in 8 Easy Steps
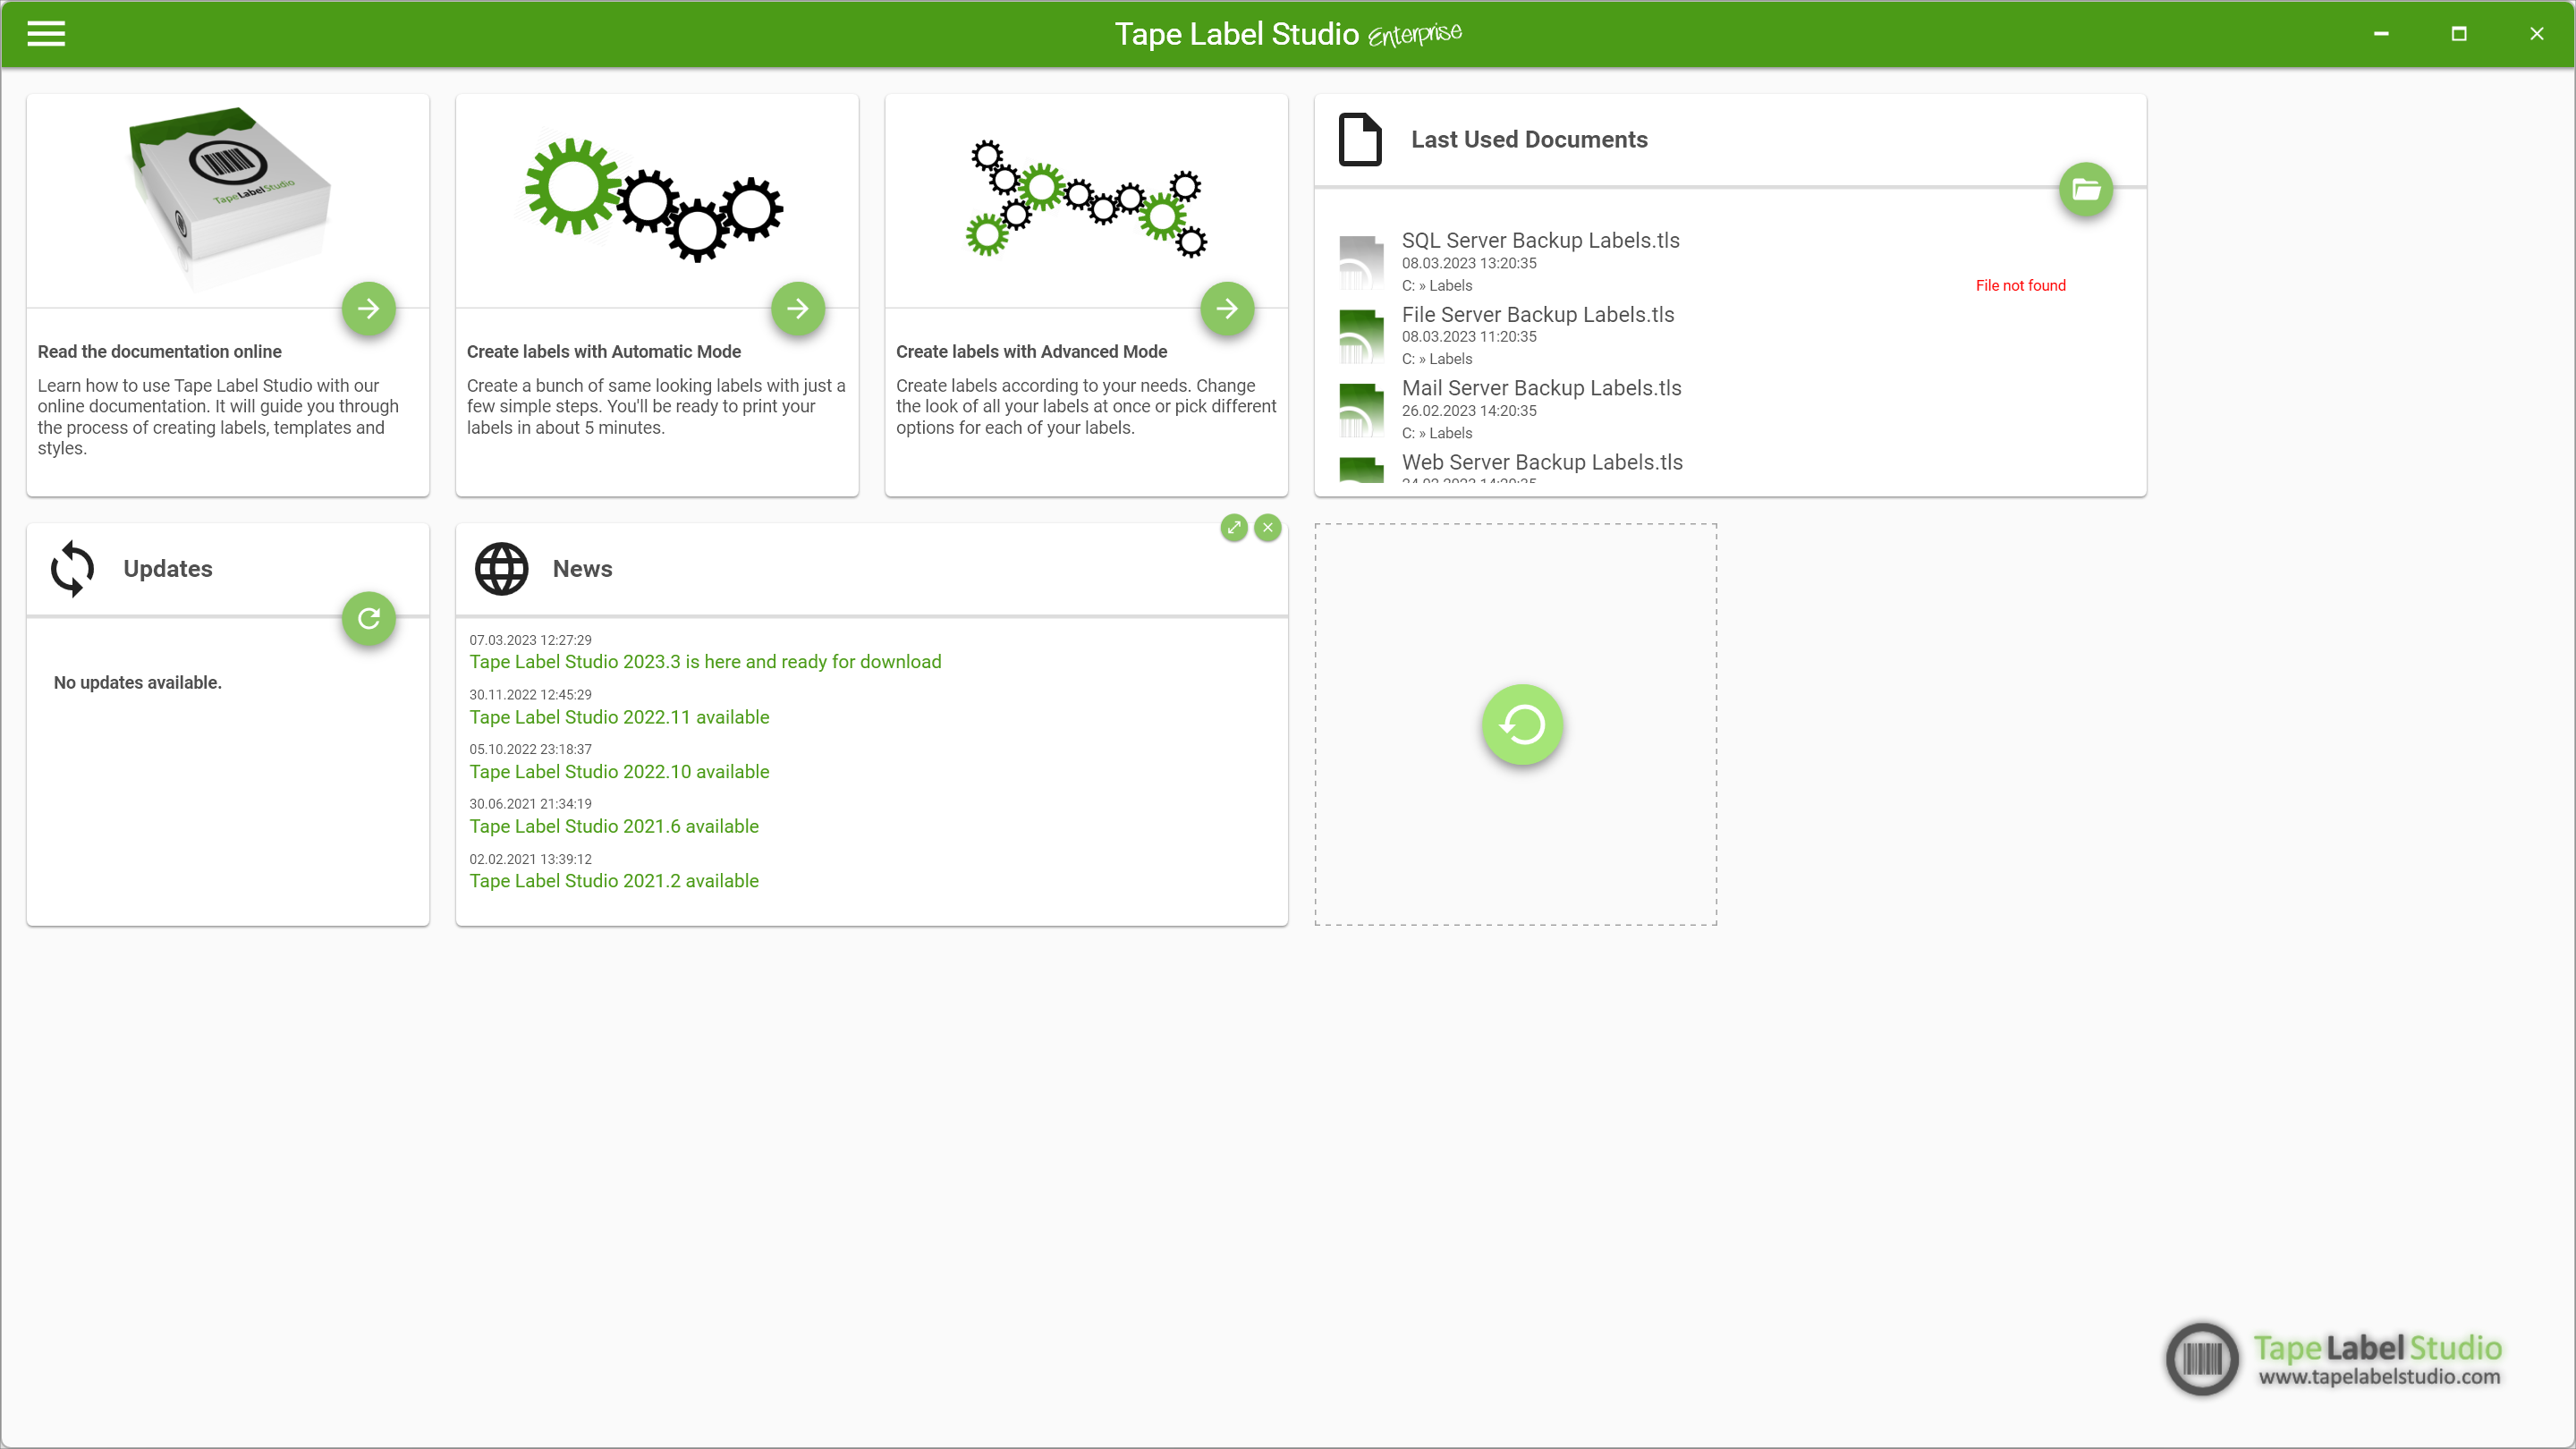
Step 1: Download, Install and Launch
Go to the download section and download the latest version. After installing, launch the software from the Windows start menu.
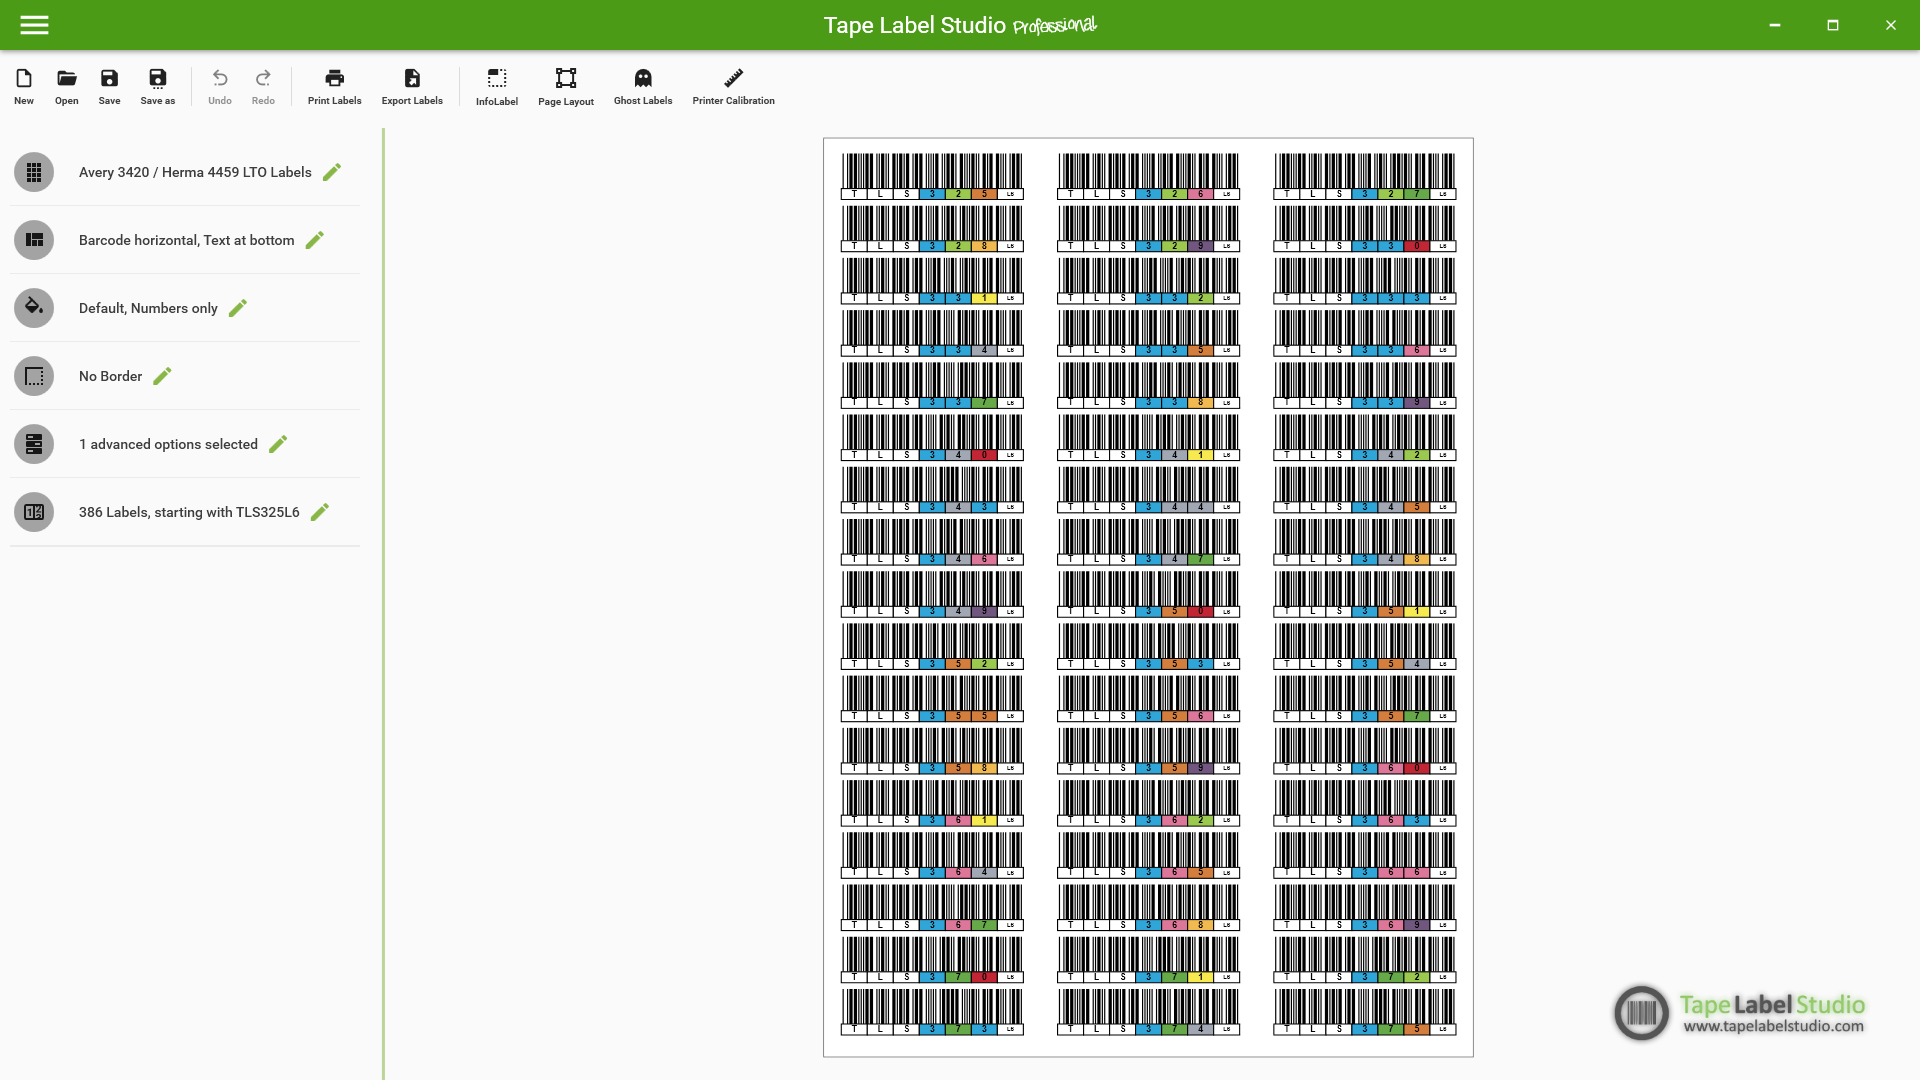
You can start Automatic Mode either by clicking the card in the center or selecting it from the menu on the left.
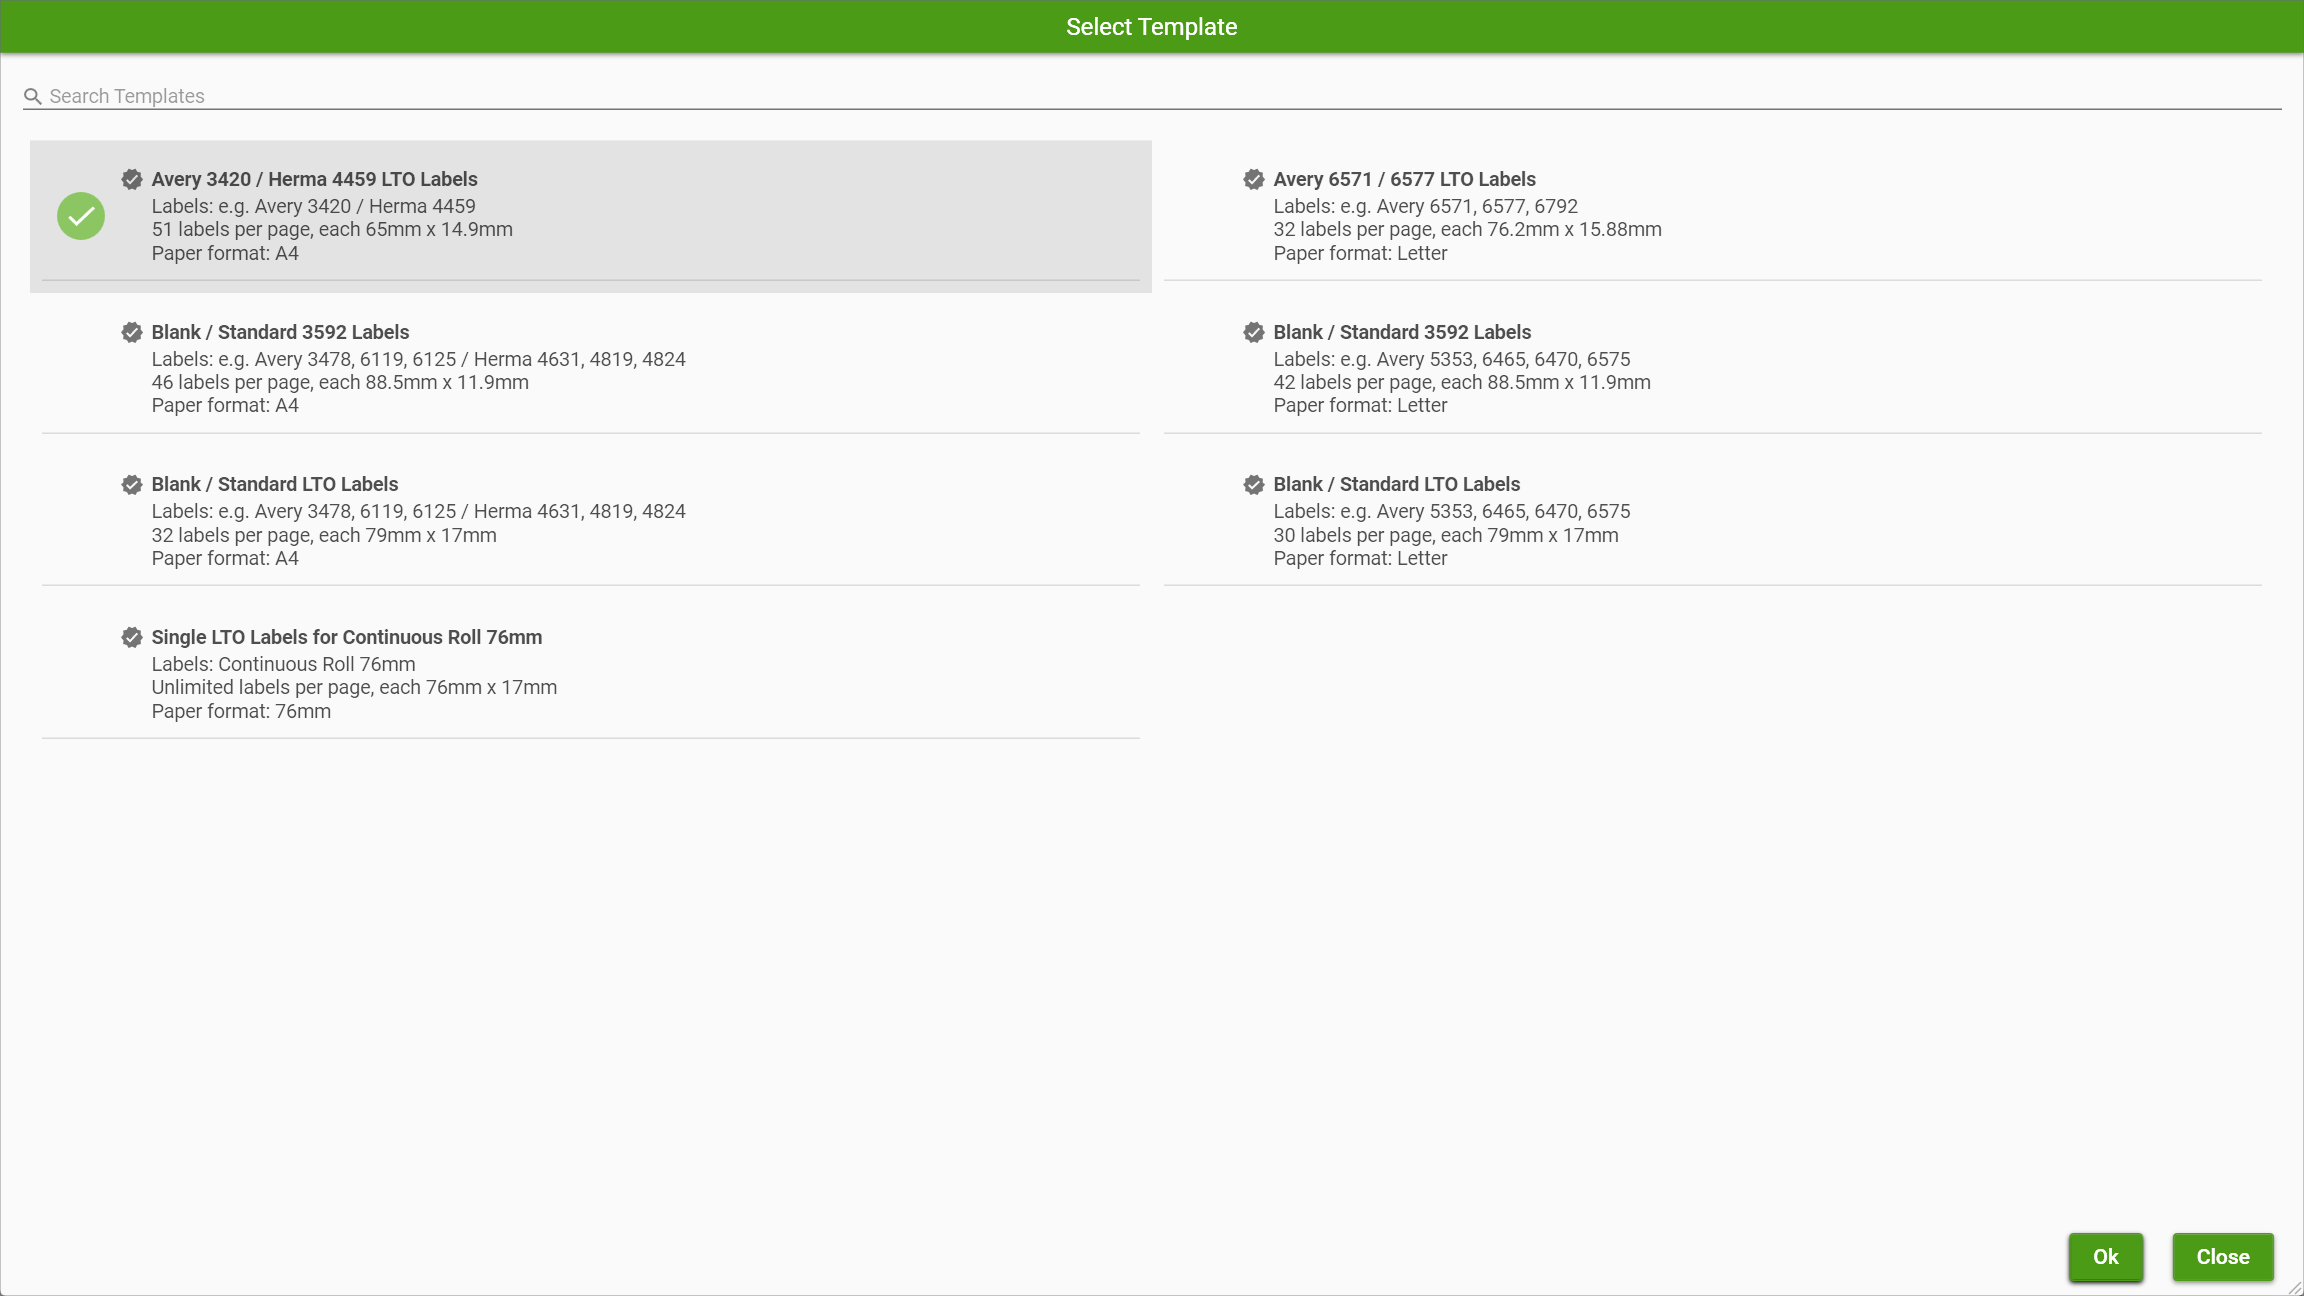
Step 2: Choose a Label Template
Select the layout that matches your label sheets. Tape Label Studio supports many popular formats (HERMA, Avery, NetC, etc.).
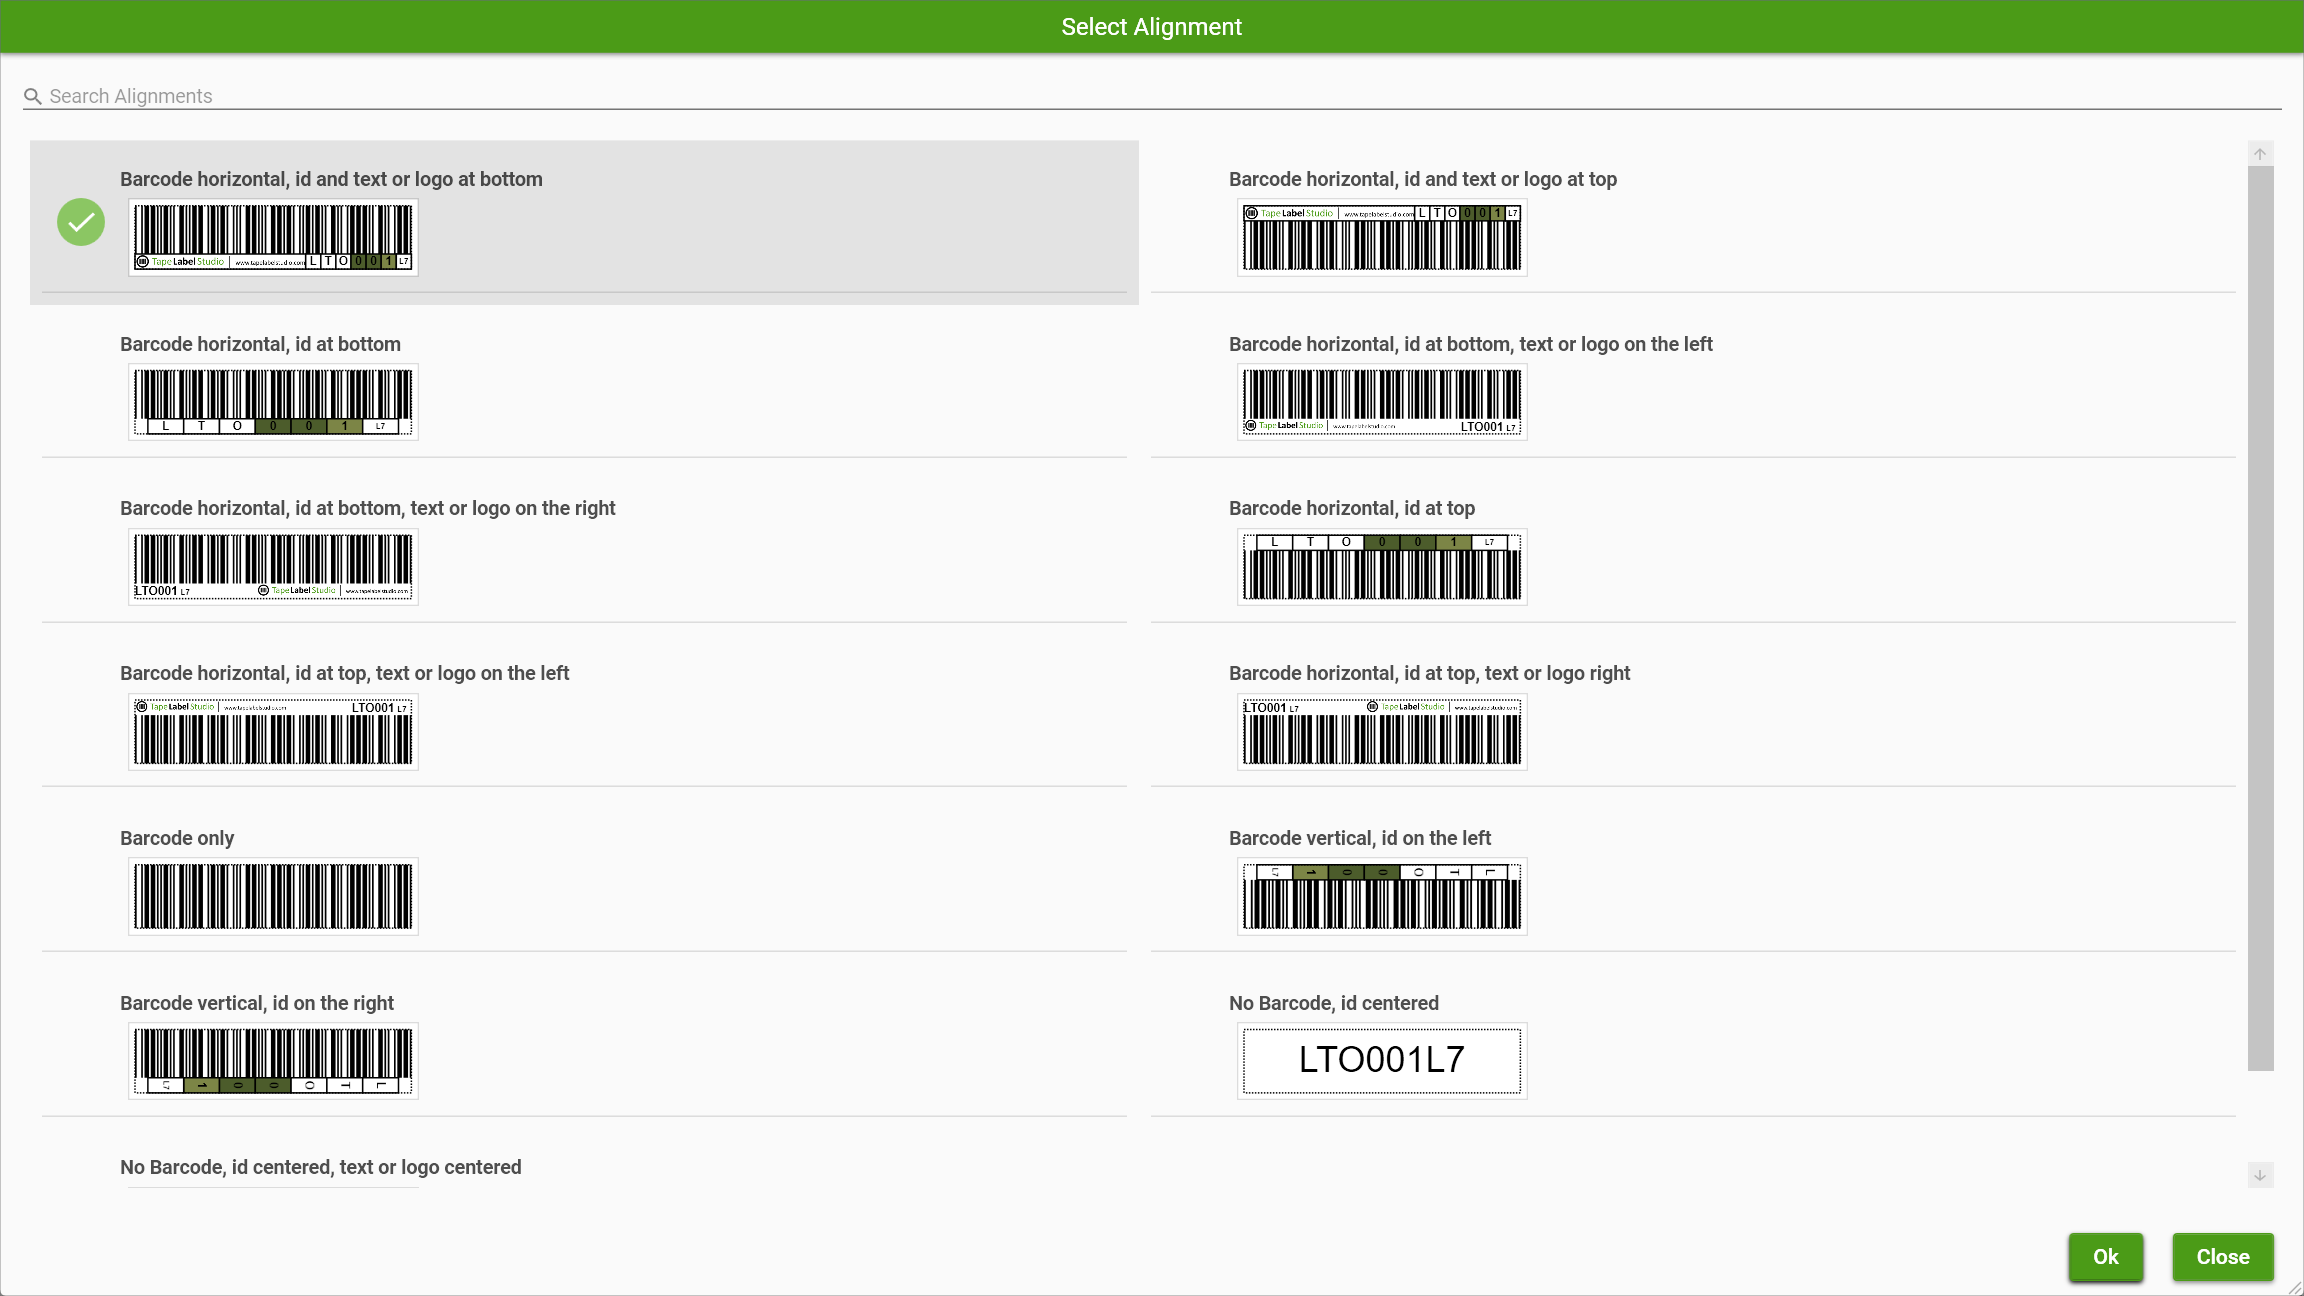
Step 3: Choose Alignment
Pick how your barcode, text, and logos are aligned on the label. A live preview helps you make the right choice.
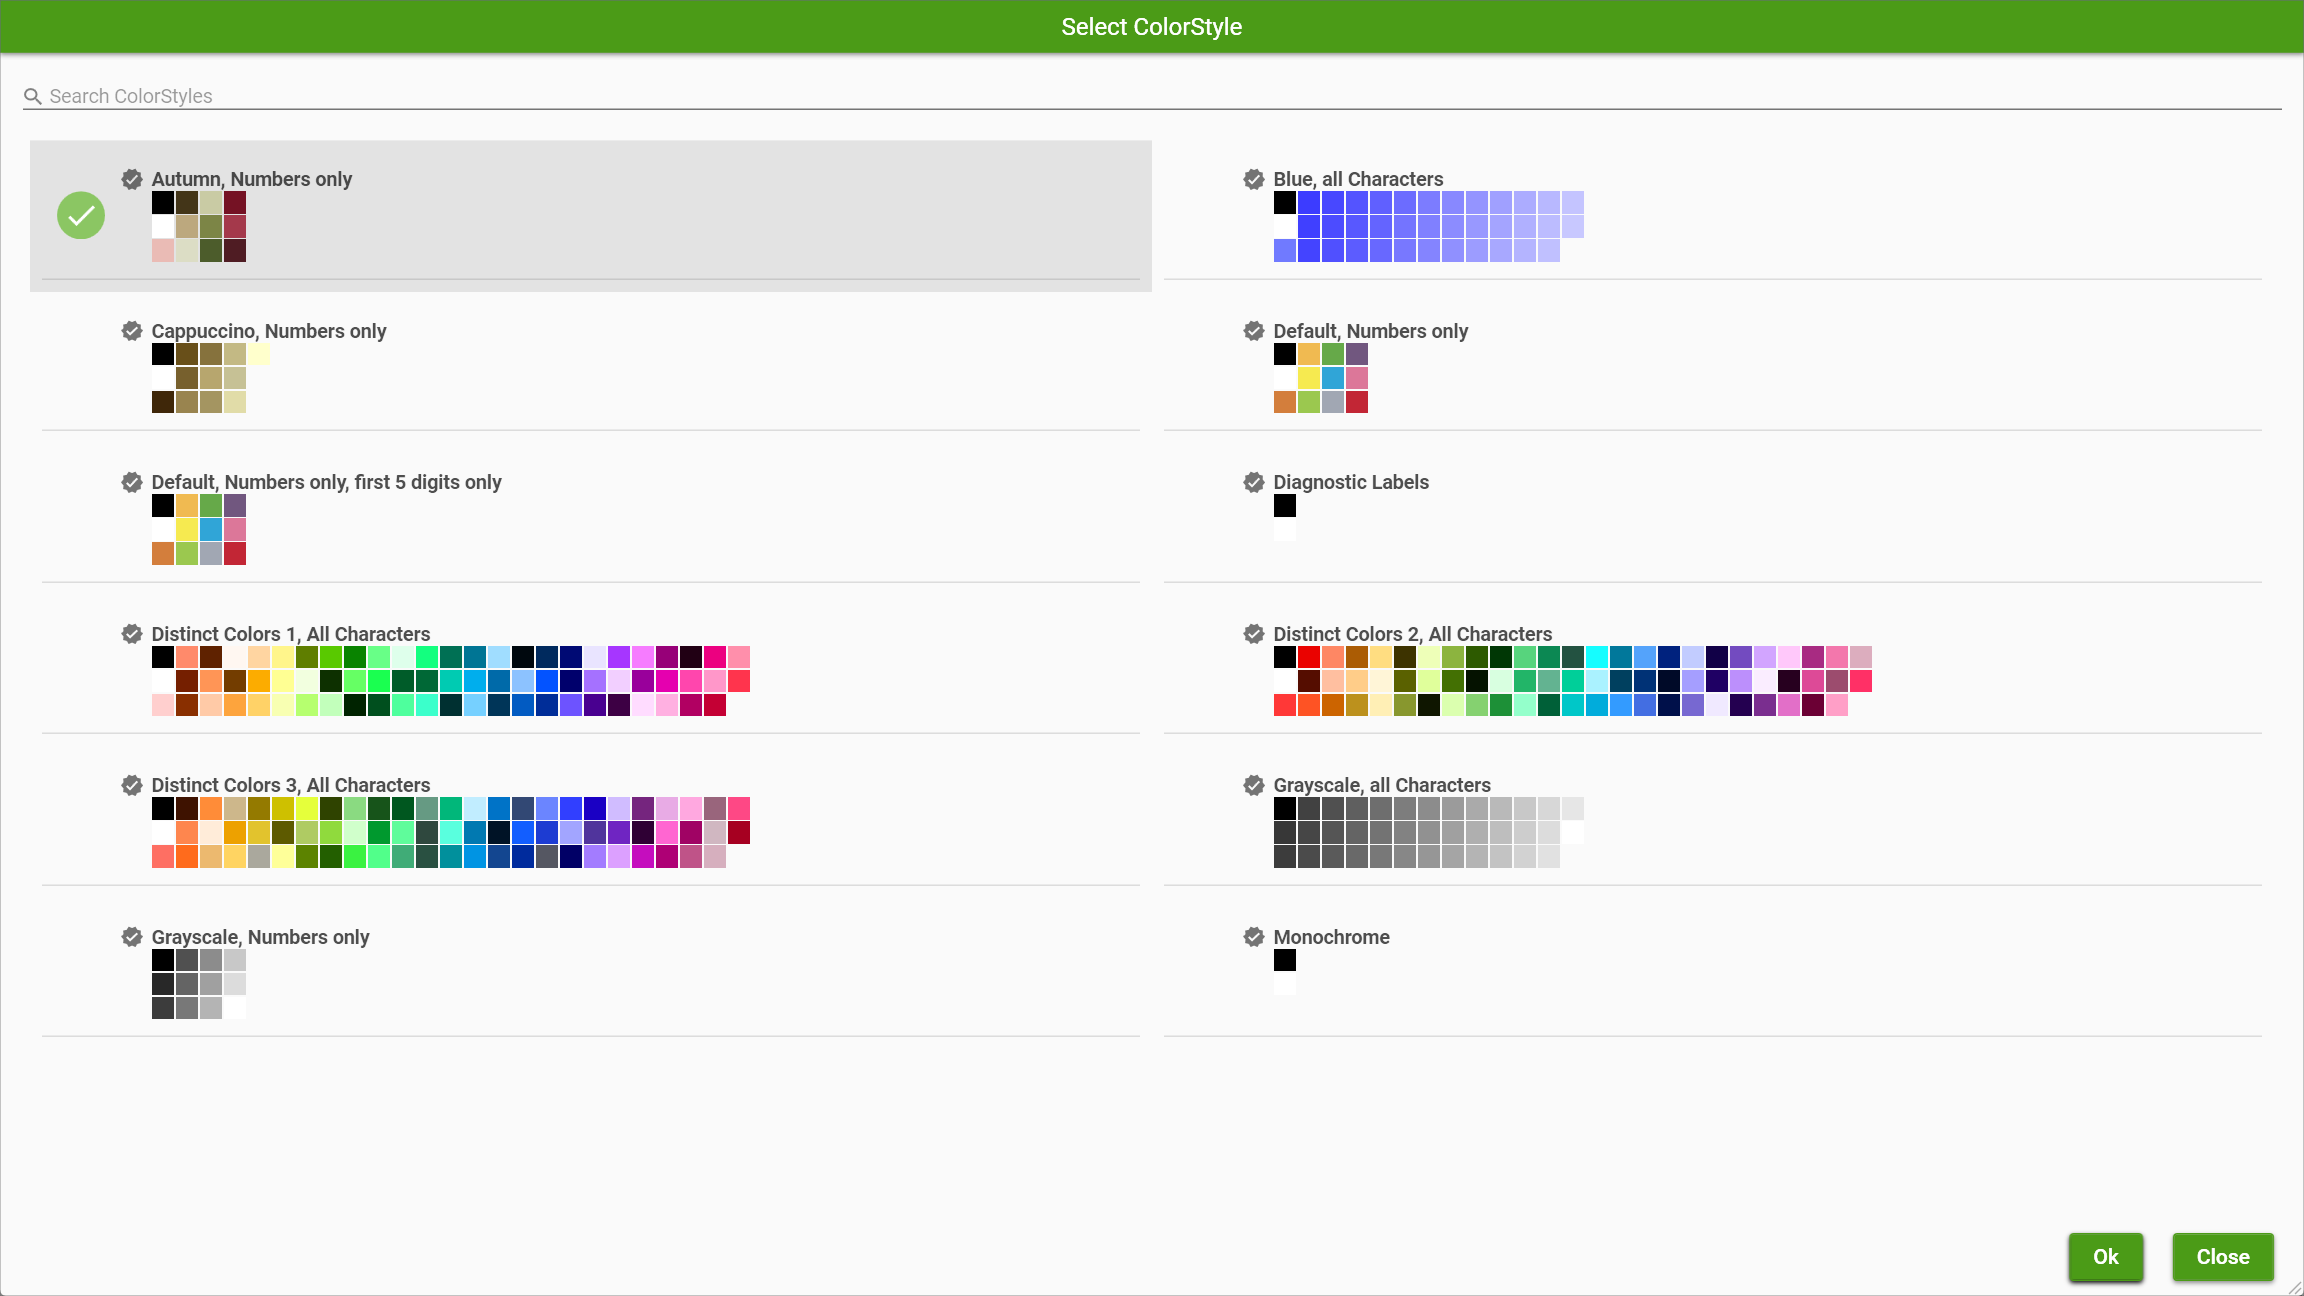
Step 4: Pick a Color Style
Choose a color scheme for your labels. Distinct palettes help identify tapes at a glance.
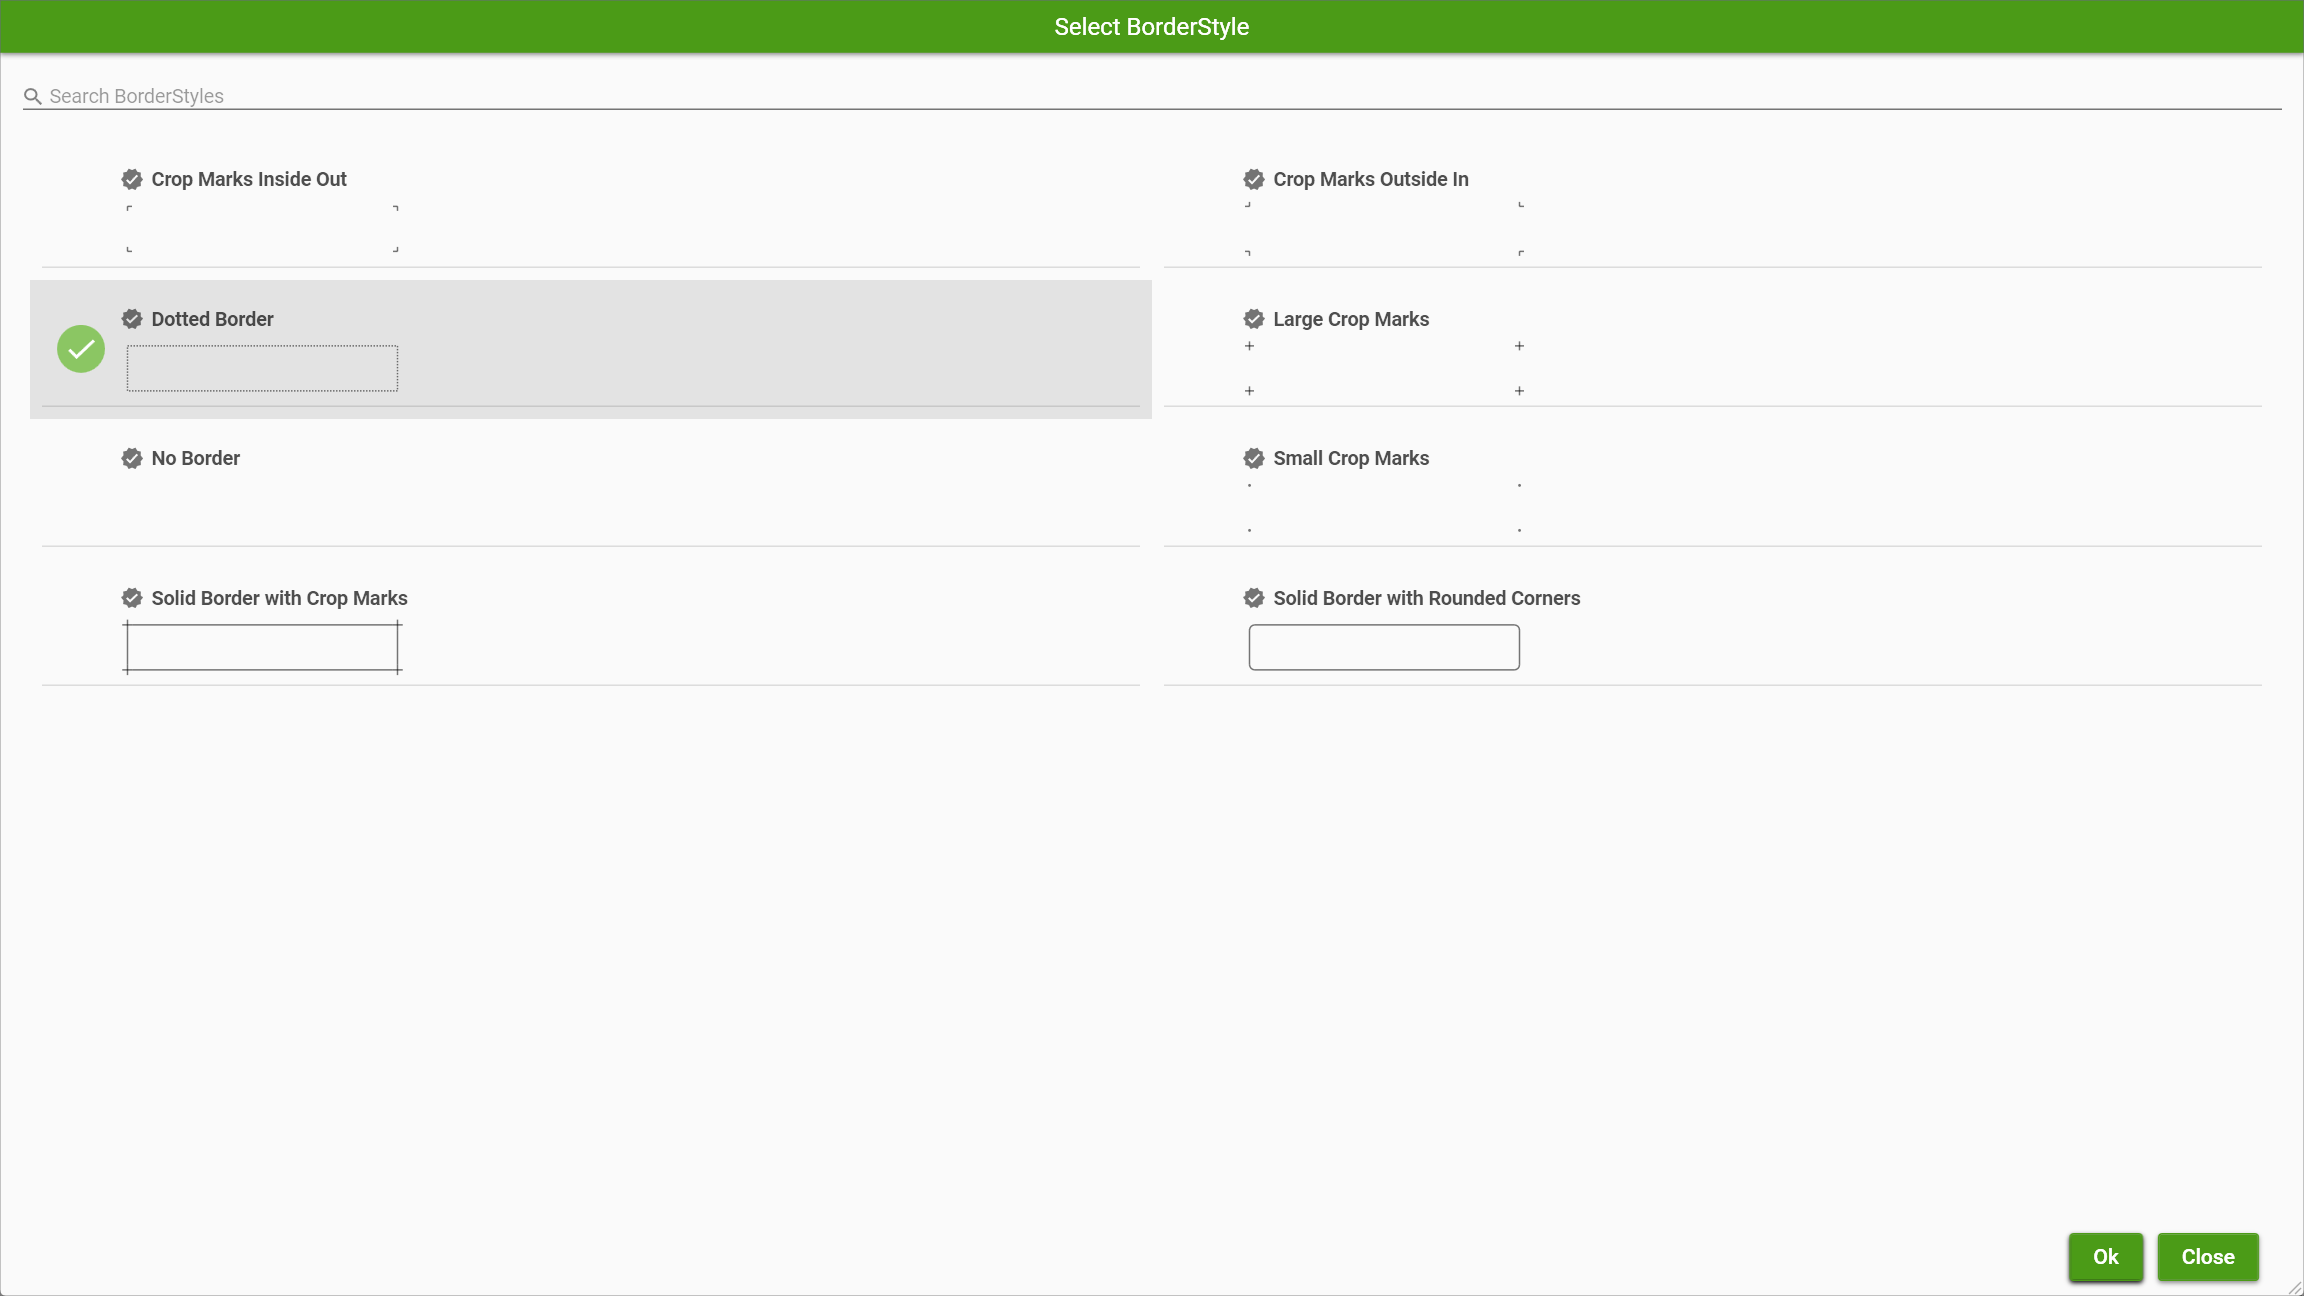
Step 5: Select a Border Style
Define the label edges with crop marks, solid borders, or none at all.
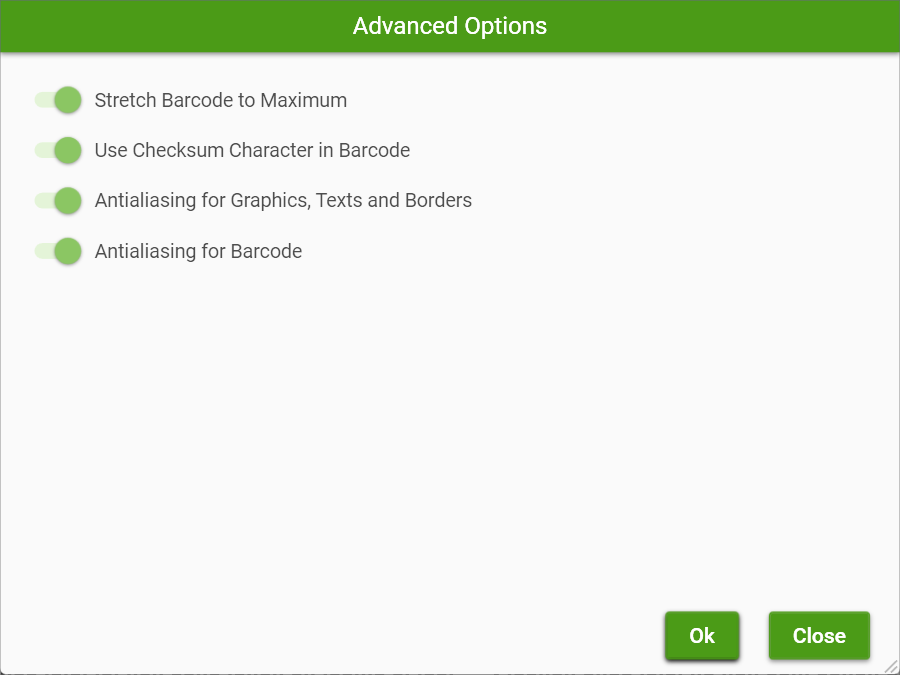
Step 6: Adjust Advanced Options (Optional)
Tweak settings like barcode stretching, anti-aliasing, and checksum characters if needed.
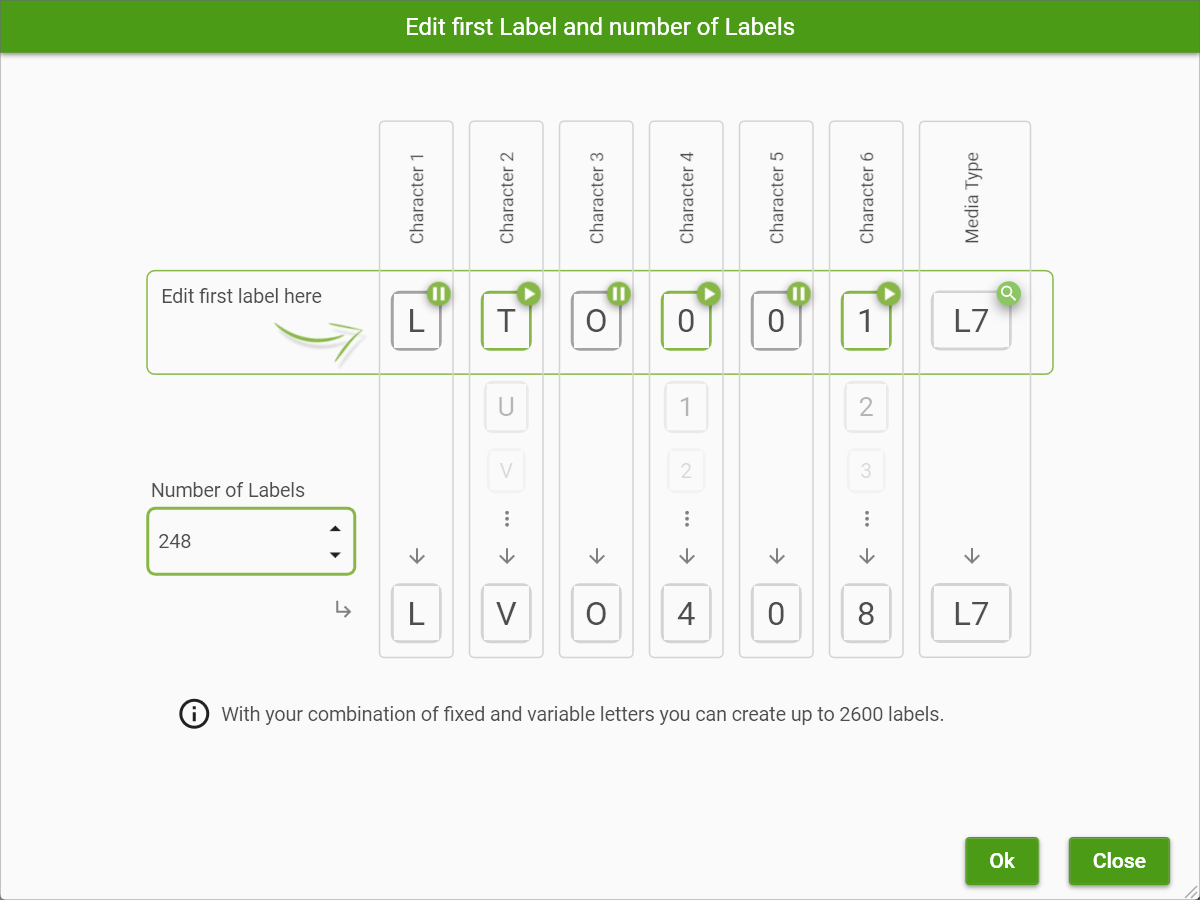
Step 7: Define Your Label Range
Set the first label ID, number of labels, and media type. TLS will automatically generate all needed codes. You can choose which characters are fixed and which are variable by using the play and pause buttons.

